
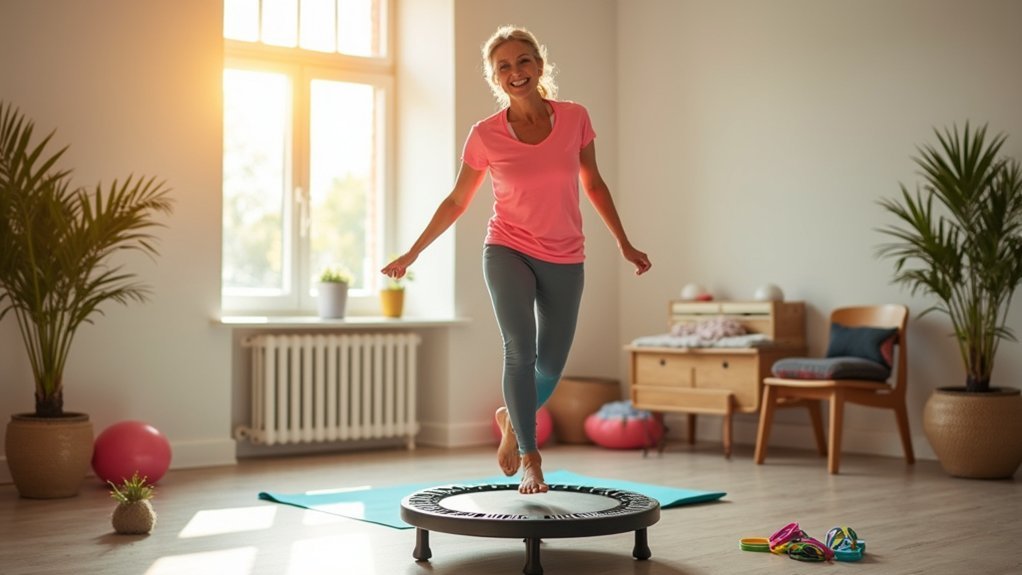
Mini-jumps on a rebounder offer an ideal low-impact exercise for arthritis sufferers, absorbing up to 87% of impact shock while protecting your joints. You’ll benefit from improved synovial fluid circulation, which lubricates joints and reduces pain with each bounce. Start with simple movements like gentle marching for 5-10 minutes on a flat surface, gradually increasing intensity as comfort allows. A T-bar handle provides extra support for balance and stability during your joint-friendly fitness journey.
Understanding Rebounding: A Joint-Friendly Approach

While many arthritis sufferers avoid exercise due to pain concerns, rebounding offers a genuinely joint-friendly alternative that’s both effective and accessible. This low-impact aerobic exercise uses a mini-trampoline that absorbs up to 87% of impact shock, dramatically reducing stress on your knees, hips, and spine.
Unlike jarring activities like running, rebounding distributes G-forces evenly throughout your body. The elastic surface creates a gentle landing that protects your joints while still providing cardiovascular benefits. Research shows rebounding significantly improves balance and mobility, particularly beneficial for arthritis patients.
Each bounce stimulates synovial fluid circulation, fundamentally lubricating your joints with every movement. You’ll also strengthen the muscles surrounding your joints, providing better support and stability.
This makes rebounding ideal if you’re managing arthritis pain but still want effective exercise without risking further joint damage.
The Science Behind Mini-Trampolines for Arthritis Relief
Research solidly confirms what many arthritis patients discover firsthand—mini-trampolines offer scientific benefits that extend beyond simple exercise.
The springy surface absorbs impact forces, considerably reducing stress on your joints compared to activities like running.
When you bounce, you’re stimulating synovial fluid production, enhancing joint lubrication and reducing stiffness. This repetitive motion helps nourish cartilage while removing waste products.
You’ll also strengthen muscles surrounding arthritic joints, providing better stability and redistributing joint load. Studies show these benefits translate to decreased pain and improved function.
Mini-trampoline workouts improve balance and coordination too, reducing fall risk—a critical advantage for arthritis sufferers. The convenient T-bar handle provides additional support for those with more severe symptoms.
The combination of low-impact shock absorption, improved joint mobility, and muscle strengthening creates a scientifically sound exercise option for managing arthritis symptoms.
Starting Your Rebounding Journey: Beginner Tips
Setting up your mini-trampoline in a clear area with the safety bar installed will protect your joints while you build confidence.
You’ll want to start with simple movements like gentle marching or heel raises before attempting small bounces.
Consider models with bungee cords rather than springs for a smoother, safer bounce that puts less strain on sensitive joints.
As your stability improves, gradually increase your rebounding time from 5 to 10 minutes, always listening to your body’s signals.
Safety First Setup
Starting on your rebounding journey requires thoughtful preparation to guarantee both safety and effectiveness, especially when managing arthritis. Set up your mini-trampoline on a flat, stable surface with enough clearance to move freely without hitting furniture or walls. Consider using a model with bungee suspension to minimize joint stress.
| Setup Element | Safety Consideration |
|---|---|
| Surface | Choose flat, level flooring |
| Stability | Place non-slip mat underneath |
| Footwear | Wear supportive athletic shoes with grip |
| Clearance | Allow 2-3 feet of space on all sides |
Before each session, check that your rebounder’s surface is clean and dry. Select a trampoline specifically designed for rebounding exercises with appropriate weight capacity and size (32-48 inches). If you’re concerned about balance, look for models with T-bar handles for additional support when performing exercises.
Gentle Progression Techniques
With your safety setup complete, now’s the time to focus on how you’ll actually move on your mini-trampoline.
Begin with health bounces—feet hip-width apart, knees slightly bent, and only your heels lifting while keeping the balls of your feet on the surface.
Start with short 5-10 minute sessions of gentle bouncing or slow marching. Keep your core engaged by drawing your navel toward your spine, which protects your back and improves stability. Always maintain soft knees aligned over your middle toes.
As you gain confidence, gradually incorporate “baby steps” forward and backward before attempting mini-jumps. Maintain a slight hinge at the waist for proper athletic positioning throughout your movements. Only progress when movements feel comfortable—your body will tell you when it’s ready.
Remember to wear supportive shoes and use the stability bar if needed while developing your balance.
Advancing Your Practice: Progressive Mini-Jump Techniques
Once you’ve mastered the basic low-impact exercises, you’re ready to explore progressive mini-jump techniques that challenge your body while maintaining joint safety.
Begin with double-leg hops on a mini-trampoline, focusing on minimal height and proper landing mechanics.
As you build confidence, advance to small forward or side-to-side hops covering 6-12 inches. Progress through structured phases, increasing foot contacts gradually (from 60 to 120 per session) over multiple weeks.
Always emphasize “stick” landings with slightly bent knees and proper alignment. Throughout your routine, practice deep belly breathing to enhance relaxation and maintain proper oxygen flow while exercising.
When ready, incorporate more complex movements like 90-180° rotations and single-leg hops.
Complement your mini-jump routine with targeted muscle strengthening exercises for quadriceps, hamstrings, and hip muscles to enhance joint stability and function.
Safety Precautions for Arthritis Sufferers Using Rebounders

Begin your rebounding journey with proper stability measures by placing your mini-trampoline on a flat, non-slip surface and using the handlebar attachment for balance.
You’ll want to check the equipment before each use, ensuring bungee cords or springs are intact and the frame is stable. It’s important to keep your mini-trampoline away from walls and furniture to create a safe exercise environment.
As your confidence grows, progress gradually from simple marches to more advanced movements, always listening to your body’s signals and stopping if you experience pain beyond normal muscle fatigue.
Stability Measures First
Safety must be your top priority before enjoying the benefits of rebounding exercises when you have arthritis. Establishing stability measures guarantees you’ll prevent falls and minimize joint stress while maximizing the therapeutic benefits of rebounding.
- Start with support – Consider rebounders with attached stability bars or position yours near a wall or sturdy chair you can hold for balance during initial sessions.
- Master the basics first – Begin with simple walking motions on the rebounder surface before attempting any bouncing. This helps develop proprioception and confidence.
- Use proper stance techniques – Keep your feet shoulder-width apart, knees slightly bent, and core engaged. This balanced position distributes impact evenly and protects vulnerable joints from unnecessary strain. Maintain a slight bend in your knees to ensure they track over your middle toes, never locking out joints which can increase impact stress on arthritic areas.
Proper Progression Techniques
To safely incorporate rebounding into your arthritis management routine, you’ll need methodical progression techniques that protect your joints while gradually building resilience.
Start with mini-jumps at very low heights (6-12 inches), focusing on soft landings with flexed knees aligned over your toes. Aim for deep soft landings into a squatted position of approximately 90 degrees at the knee. Instead of continuous jumping, break sessions into shorter bouts to prevent joint fatigue.
Only increase intensity after you’ve mastered proper form without pain. Track your progress objectively—no discomfort, stable technique, and ease of movement signal readiness to advance.
Begin with double-leg jumps before attempting more complex patterns or single-leg work.
Remember to wear supportive shoes, use stable equipment, and always monitor joint pain and swelling. If symptoms worsen, pause and consult your healthcare provider to adjust your approach.
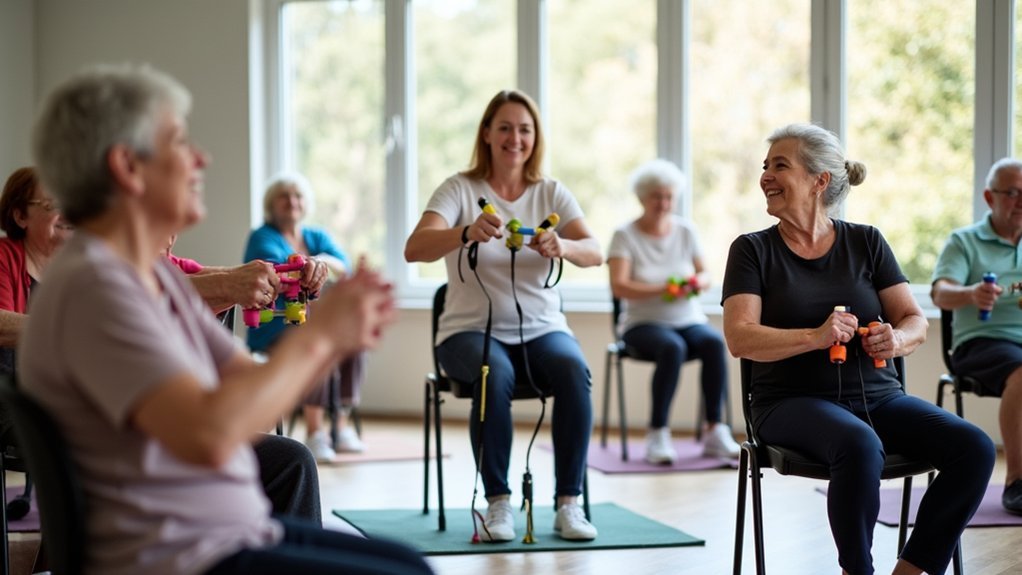
Combining Rebounding With Other Joint-Friendly Exercises
Maximizing the benefits of your arthritis exercise routine often involves combining different low-impact activities that complement each other.
Rebounding pairs excellently with several exercises to enhance joint health while providing varied movement patterns your body needs.
1. Rebounding + Yoga – This powerful combination offers cardiovascular benefits alongside improved flexibility, helping reduce joint stiffness while strengthening supporting muscles.
2. Rebounding + Resistance Bands – Build muscle strength around vulnerable joints without excessive strain.
Try alternating days between these activities to prevent overuse injuries. The gentle bouncing motion on a trampoline helps minimize stress on your joints while still providing effective exercise.
3. Rebounding + Tai Chi – Merge balance-focused movements with bone-strengthening benefits.
This pairing reduces fall risk while improving proprioception—your awareness of joint position—which is vital for arthritis management.
Pre-rebounding dynamic stretches and post-session static stretches will further enhance these combinations’ effectiveness.
Real Success Stories: How Mini-Jumps Changed Arthritis Management
Living with chronic arthritis for twenty years, Diane never imagined she’d return to daily exercise until she discovered mini-trampoline rebounding.
“After just two weeks, I noticed less morning stiffness and could move more freely,” she reports.
Like Diane, many arthritis sufferers experience immediate mobility improvements with mini-jumps. The gentle bouncing enhances synovial fluid circulation, reducing pain while strengthening muscles around affected joints.
Similar to Summer’s case, this activity can provide relief when conventional treatments fail to deliver sufficient improvement for severe arthritis patients.
James, a former runner, gradually returned to light jogging after six months of consistent rebounding.
“The emotional boost was as valuable as the physical benefits,” he explains. “That runner’s high came back, along with my confidence.”
These successes aren’t coincidental. Mini-jumps provide a customizable, low-impact option that allows you to stay active during flares by simply adjusting intensity while maintaining joint health.
Frequently Asked Questions
How Does Rebounding Compare to Swimming for Arthritis Management?
You’ll benefit from both exercises. Rebounding strengthens bones and improves balance while swimming enhances joint mobility without impact. They’re equally effective for pain reduction, but rebounding requires less space than swimming.
Can Rebounding Exercises Help With Arthritis in Hands and Wrists?
Yes, rebounding can help your hand and wrist arthritis by improving synovial fluid circulation, providing gentle strengthening, and reducing inflammation. Start slowly and use stabilizing bars if you’re concerned about balance.
How Long Before Seeing Improvement in Joint Pain From Regular Rebounding?
You’ll typically notice improvement in joint pain after 2-4 weeks of regular rebounding. Commit to 15-20 minute sessions 3-5 times weekly, and you’ll experience reduced pain and better mobility with consistent practice.
Are There Specific Rebounding Routines for Rheumatoid Versus Osteoarthritis?
Yes, RA routines emphasize gentler progression with flexibility focus and monitoring for flares, while OA routines feature rhythmic bouncing for fluid circulation and can typically progress faster with more resistance training.
Will Medicare or Insurance Cover Mini-Trampolines as Mobility Assistance Equipment?
Medicare won’t cover mini-trampolines as they’re considered exercise equipment, not medically necessary DME. Your private insurance might cover it if your doctor prescribes it specifically for therapeutic purposes, but it’s unlikely.
In Summary
Mini-jumps on a rebounder offer you a gentle yet effective way to manage your arthritis symptoms. You’ll strengthen your muscles, improve your balance, and potentially reduce pain with this low-impact exercise. Remember to start slowly, listen to your body, and gradually increase your routine as you build confidence. With proper technique and consistency, you’re not just exercising—you’re taking a bouncy step toward better joint health.


Leave a Reply