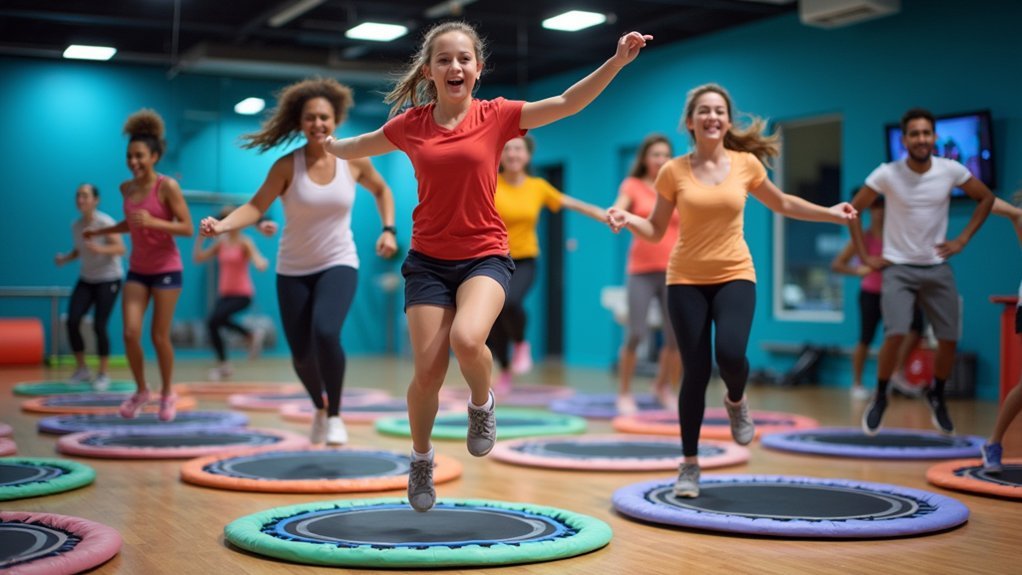
Mini-trampoline rebounding offers exceptional joint protection, absorbing up to 87% of impact while delivering impressive fitness results. You’ll get the cardiovascular benefits of 30 minutes of running in just 10 minutes of gentle bouncing. Start with the “Health Bounce,” keeping jumps under two inches with slightly bent knees, and gradually add arm movements for full-body engagement. Whether you’re managing arthritis or seeking efficient workouts, this NASA-validated exercise approach might be your pathway to pain-free fitness.
Understanding the Science Behind Low-Impact Rebounding

While traditional high-impact exercises can strain your joints and discourage consistent workouts, low-impact rebounding offers a gentler alternative with surprising benefits. The trampoline surface absorbs up to 87% of impact compared to hard surfaces like pavement, distributing gravitational forces evenly across your body instead of concentrating them on vulnerable joints.
This reduced impact makes rebounding ideal if you have arthritis or joint concerns. The gentle bouncing motion creates a pumping effect that stimulates your lymphatic system, enhancing toxin removal and immune function. Research demonstrates that just 10 minutes of rebounding equals 30 minutes of running in cardiovascular benefits.
Each bounce triggers muscle contractions throughout your body while applying gentle stress that promotes bone density. NASA research even found rebounding 68% more efficient than jogging, with every cell experiencing cycles of weightlessness and increased G-force that stimulate cellular strengthening.
Essential Equipment for Joint-Friendly Bouncing
Selecting the right equipment stands at the foundation of any successful joint-friendly bouncing routine. Your mini-trampoline should feature bungee cords rather than springs for a smoother, quieter bounce that reduces impact by up to 40%.
Look for a sturdy steel frame with a non-slip Permatron mat that can support your weight safely. The ideal size ranges from 40 to 44 inches for most effective workouts while providing adequate space for movement.
Consider adding a stability bar if you’re a beginner or have balance concerns. The protective padding covering springs or cords is non-negotiable for safety.
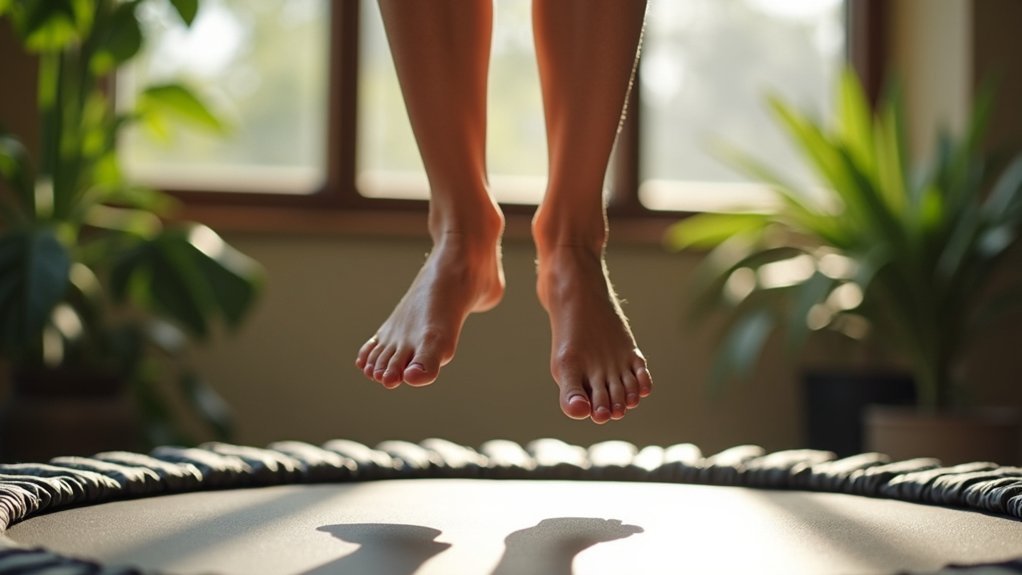
While some prefer barefoot bouncing, supportive athletic shoes or gripper socks provide valuable stability during your workout.
For more challenging sessions, incorporate resistance bands or light hand weights to enhance upper body engagement while you enjoy the gentle, joint-protecting benefits of your rebounder.
Getting Started: Basic Rebounding Techniques for Beginners

Now that you’ve found the right equipment, it’s time to learn how to bounce properly. Start with your feet hip-width apart, maintaining a slight knee bend throughout your session. Focus on pushing down rather than jumping high—beginners should keep bounces under two inches from the mat.
Stand tall with relaxed shoulders and your gaze forward. Begin with the “Health Bounce” where your feet barely leave the mat. This position helps stimulate synovial fluid for improved joint mobility and pain relief. As you gain confidence, try simple movements like marching in place or gentle side-to-side rocks.
Always engage your core for stability and protection. Distribute weight evenly across your feet and breathe naturally. Start with short 5-10 minute sessions, gradually increasing as your body adapts.
20-Minute Gentle Rebounding Routine for All Fitness Levels
You’ll want to start your rebounding practice with proper safety guidelines, including using a stable mini-trampoline and maintaining good posture throughout each bounce.
This gentle exercise is easier on joints compared to high-impact activities on hard surfaces while still providing excellent cardiovascular benefits.
As your comfort grows, gradually increase your bounce height, duration, and add gentle arm movements to progressively challenge your cardiovascular system without stressing your joints.
After completing your routine, perform gentle calf, hamstring, and lower back stretches to reduce muscle tension and improve your overall flexibility.
Getting Started Safely
Starting a mini-trampoline routine requires thoughtful preparation to assure you’re bouncing safely and effectively. Before your first bounce, consult a healthcare professional, especially if you have medical concerns or previous surgeries.
Place your rebounder on a level, stable surface away from obstacles and check for damage before each session. Ascertain you have adequate ceiling height—ideally 4.87 meters—when exercising indoors.
Begin with proper positioning: feet hip-width apart, slight knee bend, gentle hip hinge, and engaged core. Start with just 5-10 minutes of health bounces where your feet barely leave the mat.
Progress to simple movements like marching in place or gentle heel lifts. You’ll enjoy a low-impact cardiovascular exercise that’s accessible regardless of your age or fitness background.
Always warm up first and cool down afterward with controlled movements. Listen to your body and stop if you experience pain or discomfort.
Progressive Intensity Techniques
Once you’ve mastered the basic movements on your rebounder, progressive intensity techniques allow you to customize your workout for continued improvement regardless of your fitness level.
You can gradually increase challenge while maintaining the joint-friendly benefits of rebounding.
1. Adjust your bounce: Progress from a gentle health bounce (feet stay on mat) to mini-bounces where feet lift slightly, then increase height as your confidence grows.
Try single-leg bounces for an extra balance challenge.
2. Vary your tempo: Start slow, then incorporate interval training by alternating 30 seconds of faster-paced bounces with 20 seconds of gentler recovery bounces.
Sync with music to naturally guide your rhythm.
3. Add complexity: Incorporate directional changes (forward/backward, side-to-side), arm movements, and exercise variations like twists, high knees, or modified jumping jacks.
The average rebounding session can burn approximately 9.4 calories per minute, making it comparable to more intense traditional cardio exercises.
Essential Recovery Stretches
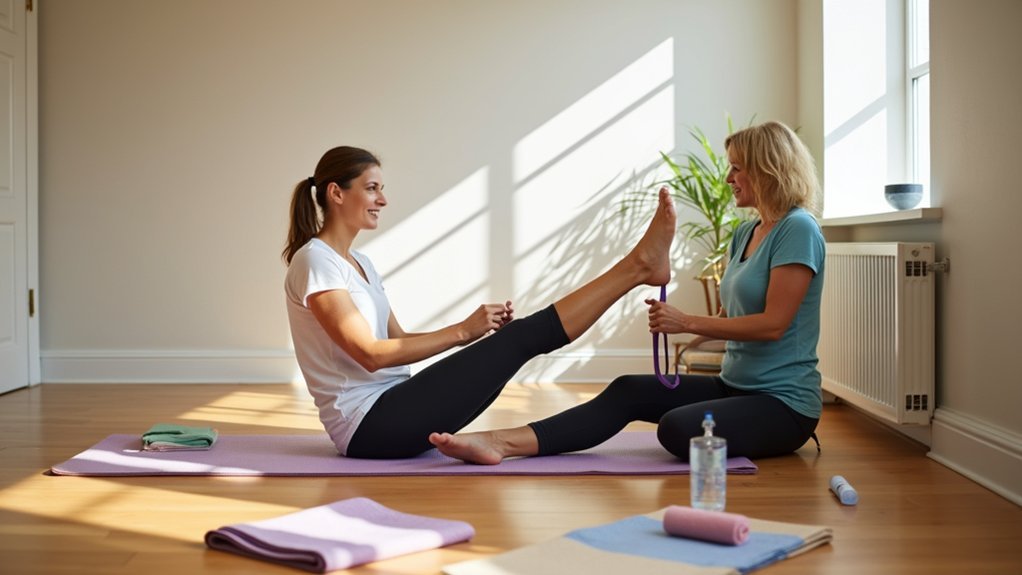
After challenging your muscles and joints on the rebounder, dedicating time to proper stretching is essential for maximizing your workout benefits and preventing soreness. Aim for a 5-10 minute cool-down routine focusing on static stretches held for 15-30 seconds each. Incorporating supine pigeon pose as a starting position helps target deep hip muscles effectively.
| Body Area | Stretch | Benefits |
|---|---|---|
| Lower Body | Hamstring, Quad, Calf stretches | Reduces stiffness, improves flexibility |
| Hips | Figure 4/Piriformis, Inner Thigh | Releases tension, increases mobility |
| Upper Body | Shoulder/Chest, Triceps | Improves posture, relieves tightness |
| Core/Back | Spinal Twist, Child’s Pose | Promotes spinal mobility, aids relaxation |
Remember to breathe deeply throughout each stretch. This recovery routine helps remove metabolic waste, increases blood flow to muscles, and supports your body’s change from an active state to recovery mode.
Targeting Specific Muscle Groups on Your Mini-Trampoline
While a mini-trampoline workout naturally engages your entire body, you can strategically target specific muscle groups to maximize your fitness results. The unstable surface activates stabilizer muscles throughout your body as you bounce, but specific movements can intensify engagement in particular areas.
1. Lower Body Focus – Add squats, jump squats, and single-leg bounces to target your quads, hamstrings, and glutes.
Side-to-side movements like speed skaters effectively engage inner and outer thighs.
2. Core Strengthening – Perform twisting jumps, knee tucks, and planks on the rebounder surface to activate your abdominals, obliques, and pelvic floor muscles more intensely than floor exercises. This helps improve dynamic balance and reduces the risk of falls as you age.
3. Upper Body Work – Incorporate arm movements like punches, raises, and circles while bouncing, or add light weights for increased resistance to shoulders and arms.
Progressive Intensity: Advancing Your Rebounding Practice Safely

As you become comfortable with basic rebounding techniques, advancing your practice strategically will maximize fitness benefits while protecting your joints.
Begin by extending your sessions from 5-10 minutes to 20-30 minutes as your endurance improves.
Intensify workouts by increasing jump height, lifting knees higher during jogs, or accelerating your bounce cadence.
Try interval training—alternating 20-40 seconds of high effort with brief recovery periods.
When ready, incorporate light hand weights (2-3 pounds) or resistance bands for additional challenge.
Progress from basic movements to more complex variations like jumping jacks, ski jumps, and twists.
Combine movements for greater coordination and intensity.
The compact design of rebounders makes them ideal for creating a dedicated exercise space in even the smallest homes.
Always prioritize proper form: maintain a slight knee bend, engage your core, and push down firmly into the mat.
Listen to your body and adjust intensity as needed.
Combining Rebounding With Other Low-Impact Modalities
Rebounding doesn’t need to stand alone in your fitness repertoire. This versatile exercise form naturally complements various low-impact activities, creating a well-rounded approach to fitness that addresses multiple components simultaneously.
For maximum benefits, try these strategic combinations:
- Cardio Integration – Alternate rebounding sessions with swimming or walking for thorough cardiovascular development while protecting your joints. Adding rhythmic bouncing to clean energy music can enhance your motivation and workout intensity.
- Strength Fusion – Incorporate light hand weights (1-3 lbs) during bouncing sessions or combine with resistance bands to build functional strength.
- Flexibility Enhancement – Follow rebounding with yoga or Pilates for improved balance, deeper stretches, and engaged core stability.
These combinations maximize your fitness results while minimizing impact on joints, creating efficient workouts that address cardio, strength, and flexibility in less time.
Special Considerations for Seniors and Those With Joint Conditions
If you’re a senior or have joint issues, you’ll need to assess your impact tolerance before starting a rebounding program.
You can adapt exercises by using seated bounces, holding stability bars, or practicing “health bounces” where your feet don’t fully leave the mat.
Progress pain-free by gradually increasing session duration rather than intensity, always monitoring how your joints respond the next day. The trampoline surface helps absorb shock that would otherwise stress your joints during exercise.
Modified Impact Assessment
Seniors and individuals with joint conditions require specialized impact evaluation protocols before attempting even modified mini-jumps.
Your healthcare provider should conduct a thorough evaluation of joint health, focusing on mobility limitations and pain patterns specific to your condition.
When evaluating your readiness for mini-jumps, consider these essential modifications:
- Start with force plate testing on compliant surfaces like mini-trampolines to measure baseline Ground Reaction Forces (GRF) and establish safe parameters for your joints.
- Use video analysis to evaluate knee valgus and joint angles during simple movements before progressing to actual jumps.
- Monitor pain responses with a standardized scale during and after preliminary movement tests rather than waiting until 24 hours post-activity.
Always prioritize technique over height, emphasizing proper landing mechanics with adequate knee/hip flexion to provide joint protection through proper muscle engagement.
Senior-Specific Exercise Adaptations
Adapting mini-jump exercises for older adults requires thoughtful modifications that address age-related physiological changes while still providing effective fitness benefits.
Start with a thorough 5-10 minute warm-up to increase blood flow and prepare joints for movement. Use chairs or sturdy supports during exercises to enhance stability. If you’re managing arthritis or osteoporosis, consider water-based alternatives that considerably reduce joint stress.
Focus on strengthening your core and lower body muscles to improve balance. Incorporate balance-enhancing activities like modified tai chi movements between jump sets. Since falls are common among seniors with over 25% experiencing them annually, prioritize stability exercises alongside mini-jumps.
Always monitor your body’s signals—avoid pushing through sharp pain and modify movements as needed.
Remember to cool down properly for 5-10 minutes with gentle stretches to maintain flexibility and prevent dizziness.
Wear supportive footwear and verify your exercise space is hazard-free.
Pain-Free Progression Techniques
Although many fitness enthusiasts rush to increase intensity, successful mini-jump progression for seniors requires a methodical approach that prioritizes joint protection.
Focus on mastering proper landing mechanics before increasing height or complexity—landing softly on the balls of your feet with slightly bent knees to absorb impact.
For those with joint concerns, follow these pain-free progression steps:
- Begin with bilateral jumps on forgiving surfaces like mini-trampolines, limiting sessions to 60 foot contacts.
- Gradually shift to low forward/side hops (2-4 inches), increasing to 90 foot contacts per session only when comfortable.
- Allow 48-72 hours between jump sessions for adequate recovery, and stop immediately if you experience pain.
The gradual progression should respect the stretch-shortening cycle principles, ensuring that exercises benefit muscle elasticity without causing joint strain.
Always obtain medical clearance before starting any jump-based program.
Tracking Progress and Monitoring Joint Health During Rebounding Programs
Success with mini-jump fitness hinges on consistently tracking both your progress and joint health throughout your rebounding journey.
Keep a workout log recording session duration, intensity (using RPE or heart rate), and performance improvements like faster pace or better balance.
Listen carefully to what your body tells you. Stop immediately if you experience sharp pain, dizziness, or unusual fatigue.
Distinguish between normal muscle soreness and joint pain, and watch for swelling or stiffness after workouts.
Adjust your program based on these signals. Start with short, low-intensity sessions, then gradually increase duration and complexity as your body adapts.
Don’t hesitate to modify movements that cause discomfort, incorporate rest days, and verify you’re using quality equipment on stable surfaces. When checking your form, ensure your gaze is directed a few feet ahead, not down at your feet, to maintain proper posture.
Frequently Asked Questions
How Does Rebounding Affect Lymphatic Drainage and Detoxification?
Rebounding stimulates your lymphatic system through alternating weightlessness and gravity. When you bounce, you’re creating a pumping action that opens and closes lymphatic valves, increasing fluid flow and helping your body remove toxins efficiently.
Can Rebounding Help With Varicose Veins or Circulation Issues?
Yes, rebounding can help your varicose veins and circulation issues by preventing blood pooling, strengthening vein walls, enhancing blood flow, and reducing vein pressure. It’s not a cure but effectively alleviates symptoms.
Is It Safe to Rebound During Pregnancy?
Rebounding during pregnancy requires medical clearance first. You’ll need to modify—stick to gentle bounces, use handlebars, and listen to your body. The safety varies based on your pregnancy status and fitness level.
How Does Rebounding Compare to Swimming for Calorie Burning?
Rebounding burns roughly the same calories as swimming (~200-450 per 30 minutes). You’ll burn more with intense rebounding sessions, while swimming burns vary by stroke—butterfly burns most, breaststroke least. Both depend on your weight.
Can Children Safely Use Adult Rebounders?
While possible with supervision, it’s not ideal. Adult rebounders have higher tension and weight capacities than children need. You’re better off choosing kid-specific rebounders with appropriate size and gentler bounce for your child’s safety.
In Summary
You’ve now discovered how mini-jumps can transform your fitness journey without sacrificing joint health. By starting slowly, using proper equipment, and following progressive routines, you’ll build strength while protecting your body. Remember to listen to your body, adapt exercises to your needs, and celebrate small improvements. Whether you’re a senior, managing joint conditions, or simply seeking gentle exercise, rebounding offers a fun, effective path to better fitness.


Leave a Reply