
Mini-trampoline therapy can be beneficial after hip replacement, but you’ll need your surgeon’s clearance, typically 6-12 weeks post-surgery. Start with gentle movements like standing and weight shifting before progressing to marching in place. Choose a rebounder with bungee cords, adequate weight capacity, and supportive handlebars for stability. Monitor for pain, maintaining proper posture with bent knees and engaged core. The right approach transforms this low-impact exercise into a powerful rehabilitation tool.
10 Second-Level Headings for “Hip Replacement Recovery: Safe Mini-Trampoline Therapy Guide”

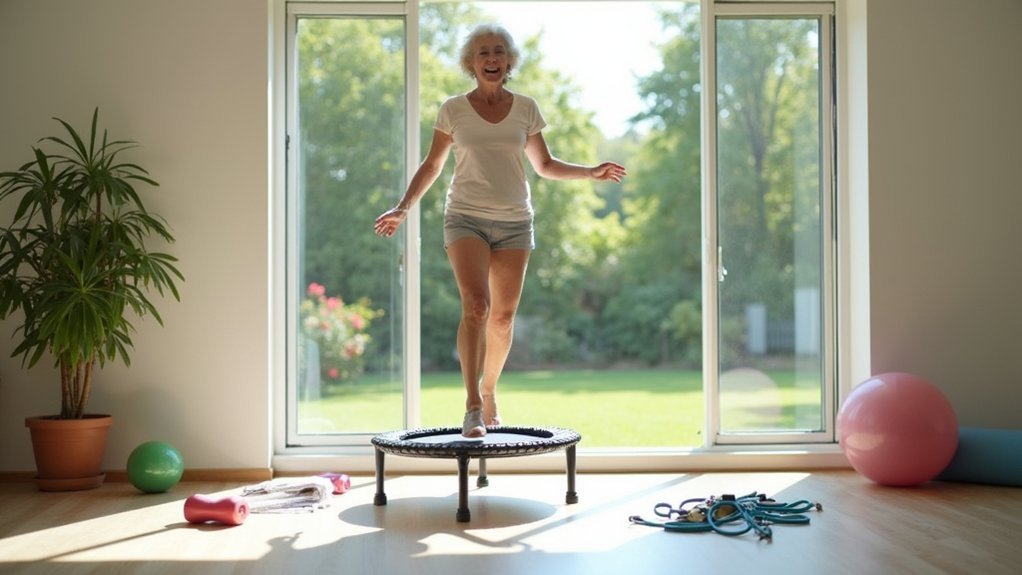
Once you’ve received clearance from your surgeon to begin light exercise after hip replacement, mini-trampoline therapy can offer a valuable rehabilitation option.
This guide will help you safely incorporate rebounding into your recovery journey.
Mini-trampoline workouts provide the perfect balance of engagement without stress on your new hip joint.
Bounce back to health with gentle rebounding that engages muscles while protecting your healing hip.
You’ll find these low-impact exercises particularly beneficial for rebuilding strength while protecting your surgical site.
The gentle bouncing motion activates your lymphatic system and improves circulation without jarring movements that could compromise your hip surgery recovery.
Start with simple movements like gentle bouncing or marching in place, always listening to your body’s signals.
Remember to consult your healthcare provider before beginning any new exercise regimen, as they’ll help tailor mini-trampoline activities to your specific recovery stage and needs.
Understanding the Benefits of Rebounding After Hip Surgery
While most post-surgical recovery plans focus on traditional therapies, rebounding on a mini-trampoline offers unique advantages for hip replacement patients.
This low-impact exercise stimulates your lymphatic system’s detoxification process while improving cardiovascular health without straining your new hip joint.
You’ll notice enhanced balance and coordination from regular mini-trampoline sessions—crucial skills that help prevent falls during your recovery journey.
Rebounding gradually strengthens the muscles surrounding your hip joint, supporting rehabilitation and accelerating your return to mobility.
The gentle bouncing motion provides effective cardiovascular benefits without the jarring impact of traditional exercises.
When introduced gradually under professional guidance, rebounding can become a valuable component of your recovery toolkit, helping you shift safely back to regular physical activity after your hip replacement.
When to Safely Begin Mini-Trampoline Therapy Post-Operation

Because recovery timelines vary considerably between patients, determining the right moment to integrate mini-trampoline therapy into your rehabilitation requires careful consideration.
Most hip replacement patients can safely begin gentle rebounding exercises between 6-12 weeks post-surgery, with many doctors recommending waiting until the three-month mark for ideal healing.
Before starting, you’ll need explicit clearance from your healthcare provider, who’ll assess your specific recovery progress and fitness levels.
When approved, begin with the simplest movements—like standing and gently shifting weight—before progressing to walking in place.
Always stop immediately if you experience pain rather than normal post-exercise fatigue.
Schedule regular check-ins with your physical therapist to evaluate your technique and readiness for more advanced rebounding exercises.
Consulting With Your Surgeon Before Starting Rebounder Exercises
Before stepping onto a rebounder after hip replacement, you’ll need explicit clearance from your surgeon at a specific follow-up appointment.
Ask your surgeon to clearly document any restrictions regarding bounce height, duration, or specific movements you should avoid during your recovery.
Your doctor will create a personalized progression plan that safely advances your rebounder exercises as your new hip joint stabilizes and strengthens.
Clearance Timing Matters
Since your surgical recovery follows a unique timeline, consulting with your surgeon is essential before starting any rebounder exercises after hip replacement.
Most surgeons recommend waiting 6-12 weeks post-surgery before attempting mini-trampoline workouts, even though they’re considered low-impact.
Returning to the rebounder too early presents a high risk of complications, including potential dislocation of your new joint.
Your surgeon will assess your bone density and healing progress during follow-up appointments to determine when you’re ready.
This personalized approach guarantees your safety, as recovery rates vary markedly between patients.
Document Specific Restrictions
Your surgeon’s personalized clearance marks only the first step in safely resuming rebounder exercises. During your consultation, ask for explicit documentation of activities you should avoid. While simply walking on the mini-trampoline might be approved, movements like Jumping Jacks could remain off-limits for months.
Request written guidelines that specify:
- Maximum duration for each session
- How many times per week you can safely use the rebounder
- Specific movements that are prohibited
- Signs that indicate you should stop immediately
Keep this documentation handy and review it several times during your recovery journey. Your restrictions will likely evolve as healing progresses, making regular follow-up appointments essential for updating your exercise parameters.
Always prioritize your surgeon’s specific guidance over general recovery recommendations.
Personalized Recovery Progression
Although the prospect of returning to a favorite exercise seems exciting, consulting with your surgeon remains vital before stepping onto a rebounder following hip replacement. Your surgeon can evaluate your specific healing progress and determine if your hip is ready for this form of exercise.
During your follow-up appointment, the surgeon will assess your range of motion, strength, and overall mobility to create a personalized recovery plan. They might suggest starting with just a few minutes of gentle bouncing three times a week, gradually increasing duration as your stability improves.
Regular check-ins guarantee your activities align with your rehabilitation milestones. This personalized approach helps prevent complications while still allowing you to enjoy the benefits of low-impact rebounding exercises during your recovery journey.
Choosing the Right Mini-Trampoline for Post-Hip Replacement Therapy
When shopping for a mini-trampoline after hip replacement, you’ll need to prioritize stability features like wider jumping surfaces (32-48 inches) and adequate weight capacity for your safety.
Your rebounder should offer appropriate bounce resistance, with bungee cord systems providing gentler joint impact than traditional springs.
Consider models with adjustable padded handle bars, which will give you essential support and balance during your early rehabilitation exercises.
Stability Features Matter
Selecting a mini-trampoline with appropriate stability features becomes essential as you progress through hip replacement recovery. You’ll want to prioritize models with adjustable padded handles for balance and support during your gentle exercises. The jumping surface size matters considerably—look for 32 to 48 inches to guarantee you have adequate space for safe movement without risk of stepping off.
| Feature | Benefit | Why It Matters |
|---|---|---|
| Bungee cords | Smoother bouncing | Reduces impact on healing hip joint |
| Adjustable handles | Enhanced stability | Prevents falls during exercise |
| 32-48″ surface | Safe exercise area | Provides adequate space for movements |
| High weight capacity | Durability | Ensures trampoline remains stable under pressure |
Choose foldable options if you’re tight on space—this convenience factor helps maintain consistency in your recovery routine.
Proper Bounce Resistance
Proper bounce resistance represents a key factor beyond stability features when choosing your mini-trampoline for hip replacement recovery.
You’ll want to select models that use bungee cords rather than traditional springs, as they provide a gentler, more controlled bounce that minimizes impact on your healing hip joint.
Look for trampolines with a jumping surface between 32 and 48 inches, giving you adequate space to maintain proper form during exercises.
The resistance should feel supportive rather than jarring – this is where quality bungee systems excel.
Ensure your trampoline has a weight capacity that comfortably exceeds your body weight, with some models supporting up to 400 pounds.
This extra capacity isn’t just about safety – it also contributes to better bounce control, allowing you to progress steadily through your rehabilitation exercises.
Handle Bar Options
A sturdy handlebar can make all the difference in your post-hip replacement recovery journey. When selecting a mini-trampoline, prioritize models with adjustable padded handles that provide essential stability during rehabilitation exercises.
Look for handlebars that can be customized to your height, guaranteeing proper posture throughout your workout. Padded grips prevent hand fatigue and offer comfortable support when you need to steady yourself.
Some premium rebounders feature removable handlebars that you can adjust as your recovery progresses and confidence increases. For maximum safety, verify the handlebar connects securely to the frame without wobbling.
This stability becomes particularly vital when you’re relearning balance on your new hip. Remember, the right handle support transforms your rebounder from a simple exercise tool into an all-encompassing rehabilitation device that supports your recovery journey.
Beginner Rebounding Movements for Early Recovery Phases
Once your doctor has cleared you for low-impact exercise, gentle rebounding on a mini-trampoline can considerably benefit your hip replacement recovery.
Begin with simple walking in place movements that activate your lymphatic system and improve balance without stressing your new hip joint.
As you gain confidence, incorporate larger marching motions with arm swings to engage more muscle groups and boost cardiovascular benefits while maintaining low impact.
Try weight shift jumps by gently bouncing while moving side to side, which enhances balance and gradually increases your heart rate.
When you’re ready, carefully introduce modified jumping jacks that involve both feet and arms for whole-body coordination.
Always listen to your body’s signals and don’t progress to more dynamic exercises without professional guidance.
Your recovery journey requires patience and attention to comfort limits.
Progressive Exercise Protocol for Weeks 8-12 After Surgery
You’ll benefit from starting your rebounding routine with simple marching and weight shifts, ensuring your balance is stable before progressing to more dynamic movements.
Check your stability by practicing near a wall or sturdy chair, and don’t attempt new movements until you’re confident in your balance and pain-free.
As your comfort grows, you can gradually increase your bounce height and duration, advancing from 5-minute sessions to 15-minute workouts by week 12.
Starting Movement Patterns
As your recovery enters weeks 8-12 after hip replacement surgery, gentle reintroduction to dynamic movement becomes essential for restoring function and strength.
Your mini-trampoline offers an ideal low-impact environment to begin rebuilding mobility.
Start with simple standing movements on the rebounder. Practice walking in place to activate your lymphatic system and improve balance.
As you gain confidence, incorporate gentle weight shift jumps and marching while adding coordinated arm swings.
Remember to listen to your body throughout these exercises. If you experience pain beyond normal muscle fatigue, reduce intensity or stop completely.
These controlled movements on the mini-trampoline will help engage supporting muscles around your new hip joint, creating stability while safely preparing you for more dynamic activities in the coming weeks.
Balance Safety Checkpoints
Three critical safety checkpoints should guide your balance work during weeks 8-12 of hip replacement recovery.
First, verify you’ve mastered static stability before attempting mini-trampoline exercises. You’ll need to stand confidently on solid ground before introducing the dynamic surface.
Second, maintain proper positioning throughout each session. Keep your feet hip-width apart, knees slightly bent, and engage your core muscles to protect your healing hip joint.
Never bounce with locked knees or compromised posture.
Third, implement progressive intensity control. Begin with gentle weight shifts while holding support, then advance to controlled marching in place.
Only attempt free-standing exercises when you’ve demonstrated consistent stability.
Remember to monitor for discomfort and immediately modify your approach if you experience pain, swelling, or unusual sensations around your hip.
Advancing Bounce Intensity
Once you’ve established solid balance fundamentals, it’s time to increase your mini-trampoline exercise intensity. Between weeks 8-12 after your hip replacement, you can gradually introduce low-impact jumping exercises on your rebounder.
Start with controlled movements like gentle walking in place before progressing to more dynamic exercises. Try light bounces, gradually incorporating split jumps or marching with arm swings as your confidence builds. These activities enhance strength and coordination while promoting vital lymphatic flow.
Always listen to your body—stop immediately if you experience pain or discomfort. Adjust your workout intensity based on how your hip responds each day.
For best results, work with your healthcare provider to create a personalized progression plan that reinforces muscle strength around your new hip joint while safely improving mobility.
Monitoring Joint Impact and Pain Signals During Rebounding Sessions
When you begin incorporating rebounding exercises into your hip replacement recovery, paying close attention to your body’s feedback becomes essential for safe progress.
Start a pain journal to track any discomfort during and after your sessions, which will help identify patterns requiring adjustments to your routine.
Your body’s signals deserve immediate attention:
- Stop immediately if you experience sharp or persistent pain—this isn’t normal and could indicate potential damage.
- Watch for increasing discomfort during sessions, which suggests you should reduce intensity or duration.
- Notice post-exercise recovery time—if you’re sore for more than a day, you’ve likely pushed too hard.
Gradually increase workout intensity only when pain-free, and always consult your healthcare provider before starting this rehabilitation approach.
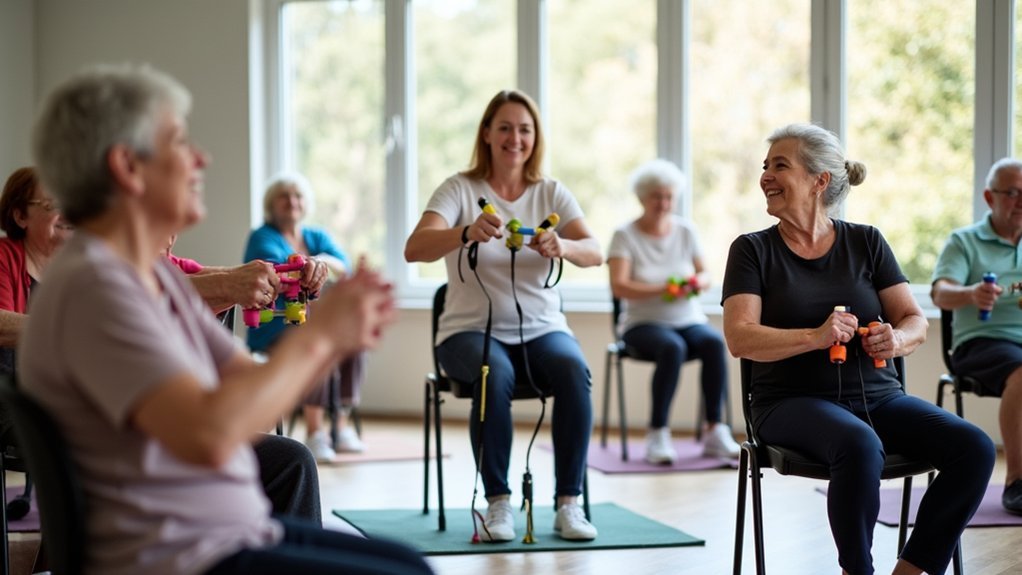
Complementary Exercises to Enhance Rebounder Rehabilitation
While rebounding forms the foundation of your hip replacement recovery program, incorporating complementary exercises can markedly accelerate your rehabilitation journey.
Gentle walking sessions complement rebounding by enhancing stability and promoting lymphatic flow, vital after surgery.
Consider adding low-impact movements like larger marching with arm swings to engage multiple muscle groups while minimizing hip joint stress.
Weight shift jumps on your rebounder will improve balance and coordination—key elements for regaining mobility.
As you progress, gradually introduce upper body movements such as bicep curls during split jumps to enhance total body engagement and support overall muscle strength.
Building a Consistent Rebounding Routine for Long-Term Joint Health
As your recovery progresses, establishing a consistent rebounding routine becomes essential for maintaining long-term joint health after hip replacement surgery.
Begin with short 10-15 minute sessions, gradually increasing intensity as your strength improves. For best results, aim to rebound at least three times weekly to build endurance while minimizing joint strain.
Vary your movements to engage different muscle groups:
- Gentle bouncing with both feet on the trampoline
- Walking in place with minimal elevation
- Marching movements with slightly higher knees as strength develops
Always listen to your body’s signals and adjust accordingly.
Regular consultation with your physical therapist guarantees your rebounding routine aligns with your recovery stage, helping you safely restore mobility while promoting cardiovascular health.
Frequently Asked Questions
Can I Jump on a Trampoline After Hip Replacement?
You shouldn’t jump on a trampoline after hip replacement. It’s too high-impact for your new joint. Instead, try gentle rebounding exercises once your doctor clears you, typically after full recovery.
When Should You Not Use a Rebounder?
You shouldn’t use a rebounder after recent hip surgery, if you have surgical site complications, balance issues, or limited mobility. Always get your healthcare provider’s clearance before starting and avoid high-impact movements during recovery.
What Is the 90% Rule With Hip Replacement?
The 90% rule means you should aim to regain at least 90% of your pre-surgery hip function within three months post-op by following your rehabilitation plan and attending physical therapy sessions diligently.
What Is the Best Therapy After Hip Surgery?
After hip surgery, you’ll benefit most from physical therapy that includes supervised exercises, walking, and swimming. Start with gentle movements and gradually increase intensity as you heal. Always follow your doctor’s personalized recommendations.
In Summary
Mini-trampoline therapy can be a game-changer in your hip replacement recovery when approached correctly. You’ll need your surgeon’s approval, proper equipment, and a gradual exercise plan. Listen to your body, respect pain signals, and combine rebounding with complementary exercises. With patience and consistency, you’re not just rehabilitating—you’re building sustainable joint health for years to come. Start slow, stay committed, and you’ll bounce back stronger.


Leave a Reply