Mini-trampolines offer excellent ankle rehabilitation through low-impact exercise. Start with gentle bouncing and gradually increase intensity. Wear supportive footwear and engage your core for stability. Incorporate balance exercises and ankle-specific movements like circles and flexing. Monitor pain carefully—stop if it hurts beyond mild discomfort. Warm up and cool down properly, and combine rebounding with stretching for thorough healing. These techniques will strengthen your ankle while safely rebuilding your confidence in movement.
Understanding Mini-Trampolines as Therapeutic Tools for Ankle Recovery
When recovering from an ankle injury, you’ll find that mini-trampolines offer a uniquely effective rehabilitation option. They provide low-impact exercise that reduces joint stress while still promoting strength and mobility essential for healing.
Mini-trampolines offer gentle yet effective ankle rehabilitation, combining reduced joint stress with targeted strength building for optimal recovery.
What makes mini trampolines particularly valuable is their ability to facilitate proprioceptive training—the awareness of your body’s position—which is vital after an ankle injury. You’ll develop better balance and coordination through simple exercises like gentle bouncing and controlled movements.
As you progress, you can incorporate lateral movements that improve agility and landing control, targeting specific muscle groups around your ankle joint.
The mini trampoline’s adjustable resistance allows your therapist to gradually increase exercise intensity, making it easier to track your improvement and modify your rehabilitation plan accordingly.
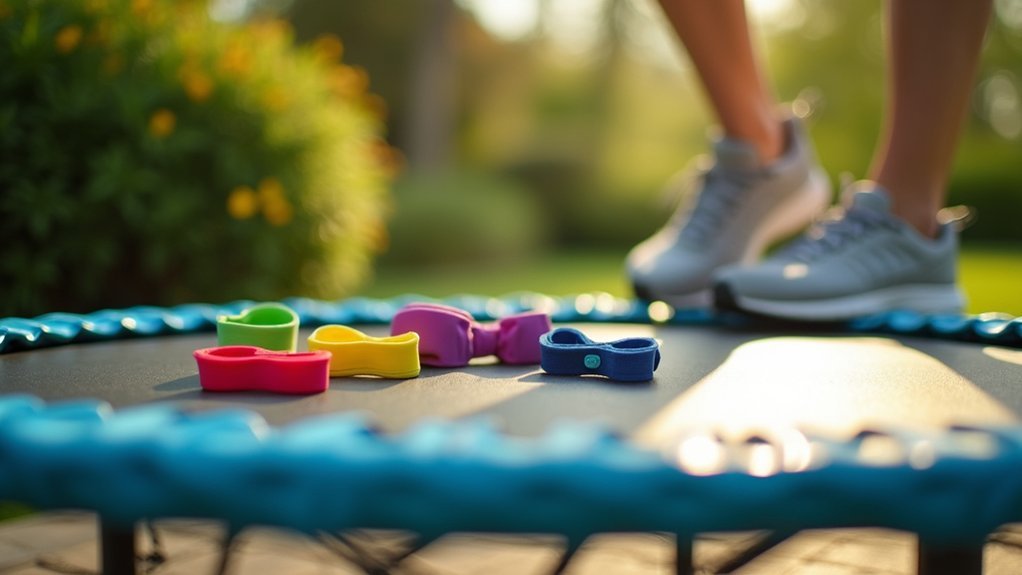
Selecting the Right Equipment for Safe Ankle Rehabilitation
When choosing a mini-trampoline for ankle rehabilitation, you’ll need to prioritize support features like padded edges and sturdy frames that prevent further injury during your recovery exercises.
The bounce surface you select directly impacts your ankle’s healing process, with moderate spring tension offering enough resistance without causing excessive strain.
You should also guarantee your chosen trampoline includes non-slip surfaces and can accommodate your weight comfortably, creating a stable foundation for therapeutic bouncing.
Support Features Matter
Selecting the right mini-trampoline can make or break your ankle rehabilitation journey. Look for models with padded edges and sturdy frames that minimize injury risk while providing reliable support when you’re practicing one-leg balance exercises.
Your trampoline should match your weight and fitness level, offering appropriate bounce with excellent shock absorption to protect healing ankles. A non-slip surface is non-negotiable—it prevents dangerous slips during your rehabilitation routine, especially when moving from wobble board exercises to trampoline work.
Consider investing in a model with adjustable handles for added stability. These supports are particularly valuable in early recovery stages when balance is compromised.
The right handles allow you to gradually decrease dependence on support as your ankle strength improves, creating a safer progression through your rehabilitation program.
Bounce Surface Selection
Beyond handles and frame stability lies the critical component of your rehabilitation tool—the bounce surface itself.
When selecting a mini-trampoline for ankle healing, prioritize models with adjustable tension settings that allow you to gradually increase intensity as your recovery progresses.
Look for a surface that provides a soft, controlled bounce to minimize impact stress on your healing ankle. The trampoline should absorb shock effectively while still maintaining enough resilience for therapeutic exercises.
Choose a larger surface area for better stability and more movement options during your rehabilitation routine.
Always verify that the weight capacity exceeds your own, ensuring the trampoline remains stable and doesn’t compromise your safety.
Remember that a quality bounce surface with proper padding around the edges will greatly improve your rehabilitation experience and accelerate recovery.
Gradual Progression: The Key to Successful Ankle Healing

Unlike many other rehabilitation approaches, mini-trampoline therapy demands patient, methodical advancement to be truly effective for ankle injuries.
Mini-trampoline rehabilitation requires disciplined progression—not rapid intensity—to properly heal ankle injuries.
You’ll want to begin with gentle bouncing exercises, allowing your body to adapt to the trampoline’s unique surface without straining your healing ankle.
As your comfort increases, gradually introduce more challenging movements like side stepping or controlled hopping.
Incorporate balance exercises—try standing on one foot while lightly bouncing—to enhance stability and proprioception.
Listen to your body’s signals throughout this process. If you experience pain, scale back your routine immediately.
Consistency trumps intensity; regular, moderate sessions will yield better results than sporadic, aggressive workouts.
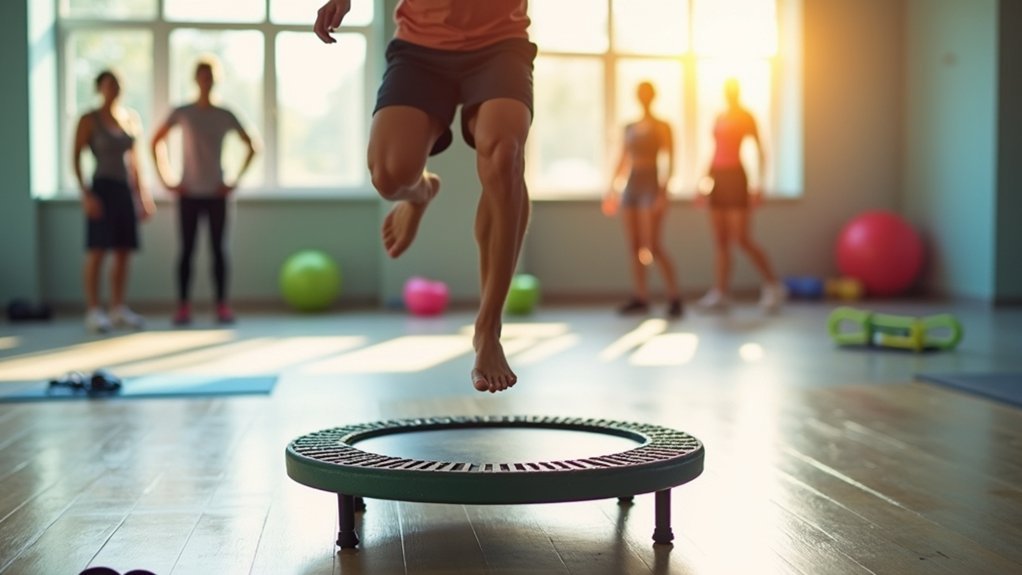
Low-Impact Rebounding Techniques for Injured Ankles
When recovering from an ankle injury, mini-trampolines offer a perfect balance of therapeutic movement and protection. The gentle, supportive surface allows you to rebuild strength without the jarring impact of traditional exercises.
| Technique | Benefits |
|---|---|
| Sit bouncing | Engages ankle without weight-bearing stress |
| Ankle circles | Increases range of motion and flexibility |
| Pointing/flexing | Strengthens supporting muscles |
| Gentle standing rebounds | Gradually rebuilds weight-bearing capacity |
For ideal healing, practice these exercises for 30-60 seconds, 3-5 times daily. Start with seated movements, then progress to standing as your ankle strengthens. The trampoline’s surface enhances circulation to the injured area while reducing strain on joints. You’ll find this approach particularly effective because it combines controlled movement with the body’s natural healing mechanisms.
Essential Warm-Up and Cool-Down Stretches for Ankle Support
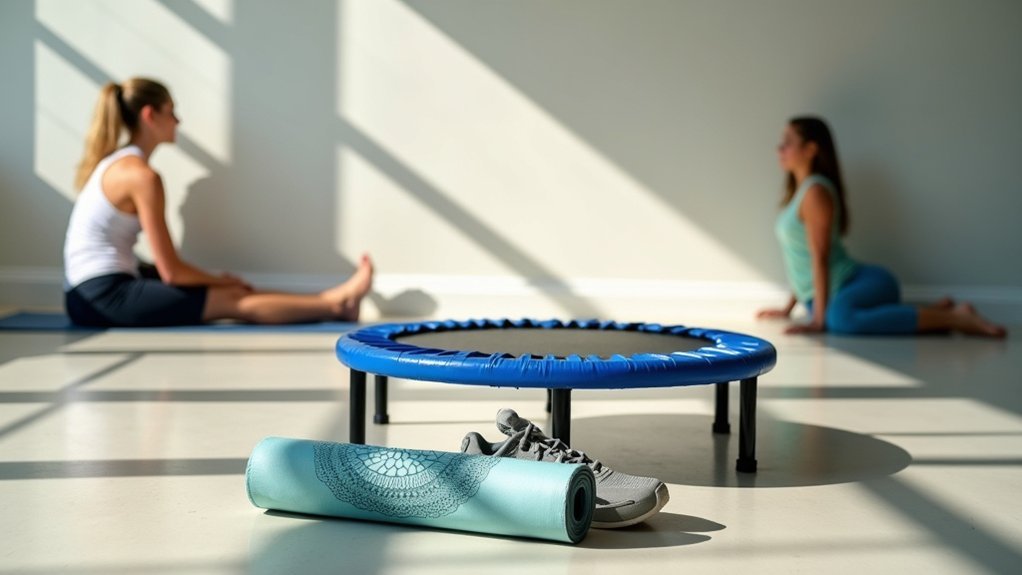
A proper stretching routine forms the foundation of any successful ankle rehabilitation program on mini-trampolines. Before you step onto the rebounder, incorporate ankle circles to enhance mobility and reduce injury risk.
Point and flex your feet during warm-up to activate ankle muscles, creating better stability when you begin bouncing.
After your rebounding session, don’t skip the cool-down phase. Dedicate time to gentle stretches that alleviate discomfort and improve flexibility.
Try myofascial release techniques to target tension in your ankle and calf muscles, which greatly enhances recovery effectiveness.
Making these warm-up and cool-down routines a consistent part of your practice isn’t optional—it’s essential.
This consistency allows for gradual healing, building ankle strength and stability while you enjoy the benefits of mini-trampoline exercise.
Balancing Exercises to Restore Ankle Stability
With your warm-up complete, you’re ready to focus on rebuilding ankle stability through specialized balancing exercises. The mini-trampoline provides an ideal unstable surface that engages multiple muscle groups simultaneously.
Start by simply standing on one foot while gently bouncing, holding for 30 seconds before switching. This targets key stabilizing muscles around your ankle joint.
As you progress, try performing quarter squats on the trampoline to strengthen ankle muscles during controlled dynamic movements.
Challenge yourself by closing your eyes during balance exercises, which forces your proprioceptive system to work harder.
Over time, advance to more difficult movements like single-leg hops when you’re feeling confident. This gradual progression effectively builds ankle resilience and stability, greatly reducing your risk of future injuries.
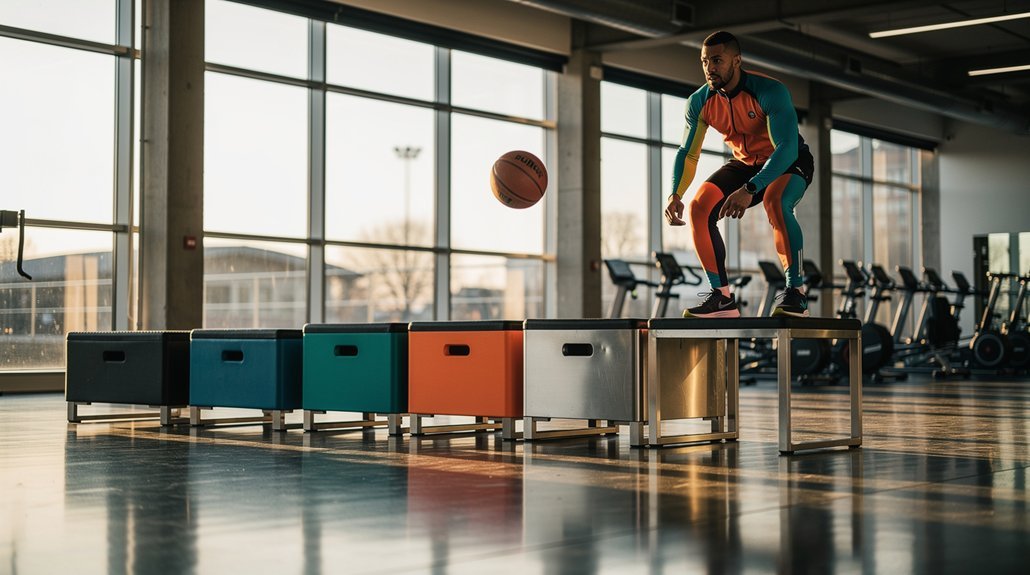
Strengthening Surrounding Muscles for Comprehensive Healing
While bouncing on a mini-trampoline, you’ll naturally engage your core muscles, providing essential stability to your ankle as it heals.
Your core acts as a central command center, transferring strength and coordination to the lower extremities during balance training exercises.
Balance work on the trampoline’s dynamic surface doesn’t just heal your ankle—it rebuilds the entire kinetic chain, creating a more resilient system that prevents future injuries.
Engage Core During Exercise
Core engagement transforms mini-trampoline rehabilitation from a simple ankle exercise into a full-body healing process.
When you activate your abdominal muscles during bouncing activities, you’re creating a stable foundation that properly aligns your pelvis and spine, greatly reducing stress on your healing ankle.
Try incorporating planks or seated bounces that specifically target your core while on the mini-trampoline.
These exercises improve your proprioception and coordination—crucial elements for complete ankle recovery.
You’ll notice that a strong core recruits surrounding muscle groups, connecting your ankle healing to your hips and lower back function.
Balance Training Benefits
Balance exercises on a mini-trampoline serve as the cornerstone of extensive ankle rehabilitation, activating essential support muscles that traditional therapy often overlooks.
When you bounce while balancing on one foot, you’re enhancing proprioception—your body’s ability to sense its position in space—which is vital for preventing future injuries.
As you train, you’ll strengthen key stabilizing muscles including your glutes, quads, hamstrings, and particularly the peroneal and calf muscles that directly support your ankle joint.
Start with simple balancing exercises, then progress to more challenging movements like hopping or performing quarter squats on the trampoline’s unstable surface.
This thorough approach doesn’t just heal your current injury—it builds the coordination and lower limb strength you’ll need to safely return to your regular activities.
Proper Footwear Options During Rehabilitation Rebounding
Selecting the right footwear can greatly impact your ankle rehabilitation success on a mini-trampoline. When rebounding for recovery, prioritize shoes with adequate cushioning and stability to minimize joint impact and provide proper support.
Proper footwear selection is crucial for effective ankle rehab on mini-trampolines—prioritize cushioning and stability for optimal results.
While barefoot rebounding can strengthen foot muscles and improve balance, it’s not recommended if you have conditions like plantar fasciitis. Instead, opt for footwear with non-slip soles to prevent accidents on the trampoline surface.
Don’t hesitate to experiment with different options—athletic shoes or specialized rebounder footwear—to discover what feels best for your specific needs.
The ideal choice will accommodate any existing injuries while providing sufficient arch support to maintain proper alignment during your exercises. Your footwear selection should evolve as your rehabilitation progresses.
Monitoring Pain and Adjusting Your Rebounding Routine
Recognizing the difference between productive discomfort and harmful pain signals is essential when using a mini-trampoline for ankle rehabilitation.
You’ll need to adapt your rebounding sessions progressively, starting with 5-10 minute sessions and gradually increasing duration only when your ankle responds positively without increased pain.
Strategic rest periods between rebounding workouts allow your ankle tissues to heal properly, especially if you notice lingering soreness that doesn’t improve within 24 hours.
Pain vs. Discomfort Signals
When recovering from an ankle injury, understanding the difference between pain and discomfort becomes essential to your rebounding success.
Pain typically signals potential injury or strain, while discomfort is your body’s normal response to new activity.
Listen carefully to what your ankle is telling you. Sharp, persistent pain means stop immediately and consult a healthcare professional. Mild discomfort that fades quickly may simply indicate adaptation.
Track your symptoms in a journal after each session, noting intensity and duration. This record helps identify patterns and triggers that affect your healing process.
Gradually increase your rebounding intensity only when discomfort decreases. A cautious approach prevents setbacks in your recovery journey.
Progressive Exercise Adaptation
The journey from recognizing pain signals to implementing a structured rebounding routine happens through thoughtful adaptation.
Begin with brief sessions on your mini-trampoline, allowing your body to acclimate before gradually extending your workout time as comfort improves.
Monitor your ankle closely during each session, distinguishing between healthy exertion and potential injury. When you notice pain, immediately adjust your intensity or modify your technique rather than pushing through discomfort.
Incorporate targeted ankle-strengthening exercises alongside your rebounding practice, progressively increasing difficulty as healing advances.
Always prepare your body with warm-up stretches and conclude with a proper cool-down to maintain flexibility.
Choose appropriate footwear based on your specific needs—supportive shoes for stability or barefoot rebounding if it feels more comfortable with your condition.
Strategic Rest Periods
Although enthusiasm for your recovery journey is admirable, strategic rest periods remain equally important as the rebounding activity itself. Allow at least 24 hours between intense sessions to reduce inflammation and promote tissue repair.
Monitor your pain levels closely and adjust your routine accordingly—pain is your body’s signal that something needs attention. Track these patterns in a journal to identify what works best for your recovery.
| Rest Strategy | Purpose | Implementation |
|---|---|---|
| 24-hour breaks | Reduce inflammation | Schedule rest days between sessions |
| Pain monitoring | Prevent re-injury | Stop if pain exceeds 3/10 |
| Progressive timing | Build endurance safely | Add 2-3 minutes weekly |
| Activity alternation | Maintain fitness | Switch between rebounding and swimming |
| Recovery tracking | Identify patterns | Keep a daily pain/activity journal |
Combining Rebounding With Other Therapeutic Approaches
Maximizing your ankle recovery requires more than just rebounding alone, as integrating complementary therapies creates a thorough healing approach.
Pair your mini-trampoline sessions with strategic stretching and strengthening exercises to enhance stability while engaging multiple muscle groups.
Incorporate proprioceptive training by practicing single-leg balances on your rebounder to improve coordination and prevent future injuries.
Between rebounding workouts, use myofascial release techniques like foam rolling to reduce tension in your calves and surrounding tissues.
For peak results, gradually increase your rebounding intensity while adding ankle-specific exercises to your routine.
This combination allows you to benefit from the low-impact nature of the mini-trampoline while systematically improving range of motion and joint function, creating an extensive rehabilitation program that supports your safe return to full activity.
Frequently Asked Questions
Is Trampolining Bad for Ankles?
Trampolining isn’t inherently bad for your ankles. It can actually strengthen them when you use proper technique and appropriate footwear. You’ll want to start gradually and listen to your body’s signals to prevent injuries.
Why Does My Ankle Hurt After Jumping on a Trampoline?
Your ankle hurts after trampolining because of high impact forces (up to 4x your body weight), improper footwear, incorrect jumping technique, or weak ankle muscles that aren’t conditioned for the repetitive strain.
How Do You Rehab Ankle Range of Motion?
Rehab your ankle’s range of motion by performing daily ankle circles, toe pointing and flexing exercises, and gentle stretches. Start with seated movements, then progress to weight-bearing exercises as pain allows. Always listen to your body.
Is Jumping on a Mini Trampoline Healthy?
Yes, jumping on a mini trampoline is healthy. You’ll benefit from low-impact cardio that’s gentle on joints while improving balance, strengthening muscles, boosting circulation, and enhancing your overall fitness with minimal stress on your body.
In Summary
You’re now equipped to heal your ankle safely on a mini-trampoline. Remember, it’s not about bouncing high but rebounding smart. Listen to your body, don’t rush the process, and celebrate small improvements. With consistent practice and proper technique, you’ll strengthen your ankle while enjoying the benefits of low-impact exercise. Always consult your healthcare provider before starting any rehabilitation program.


Leave a Reply